I just realised that I haven't posted about the CNC machine for over a year! Judging by the blog, it looks like I failed and let it die a quiet death... but in reality it's been pretty great; it is up and running and working better than I had originally hoped.
Admittedly, it took longer to get into a decent state than I had planned for, but then I never had a lot of time to dedicate to it and I am not "skilled in the art" (oh no, not by a long shot!). One of the main reasons for embarking on the CNC build was to push myself into learning a lot of new skills; with that in mind it's been a huge success :) I picked up more woodworking skills, some metal working skills, knowledge of CAD, CAM, gcode and learned a ton of other random facts and figures along the way. But, best of all, I have this amazing contraption in my garage that can craft things out of wood, plastic, foam and aluminum with speed and precision that I couldn't possibly hope to achieve by hand.
So, what have I done with it so far? Well, a lot of the things I've made so far have been improvements and additions for the machine itself. First off, I made some hold downs (
thingyverse thing:776) and some knobs to go with them (gcode provided free by
solsylva.com, which is where I bought the CNC plans from in the first place).
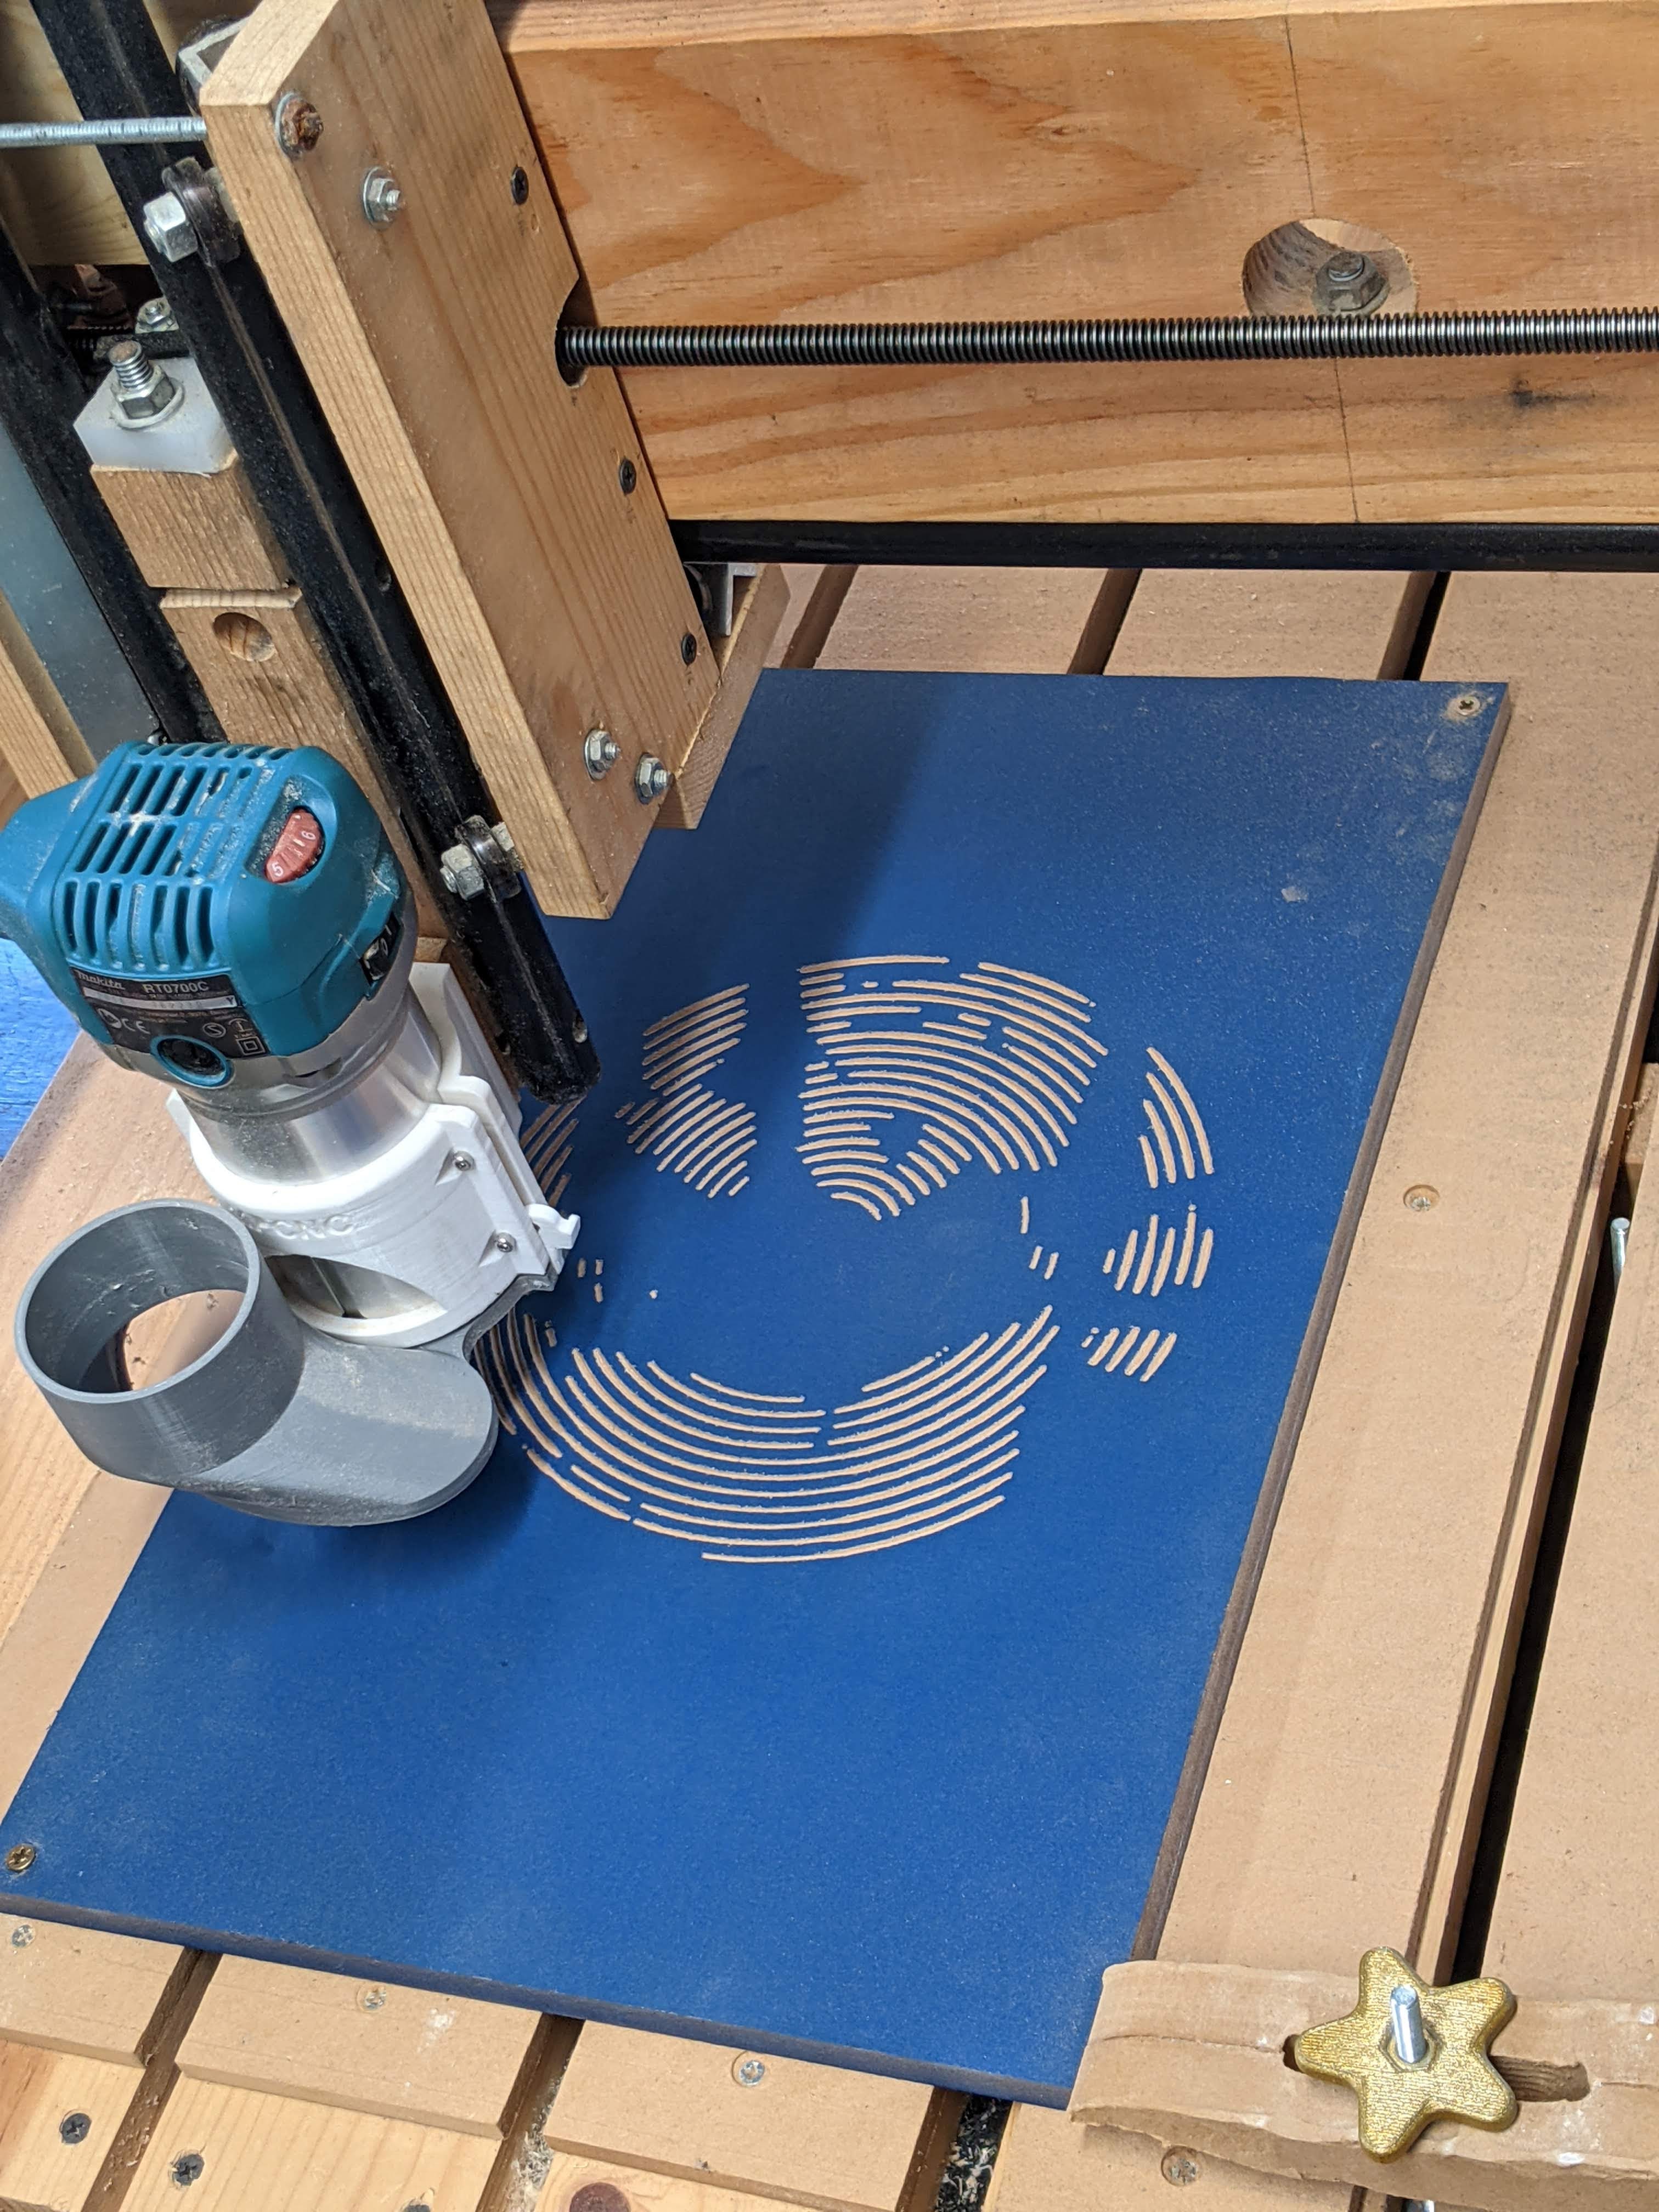
You can see the new knobs and a couple of the hold downs in use here, holding down some 1/2" MDF with some more hold downs being cut out.
At the start of the year I upgraded the leadscrews from all-thread to ACME rod (the cheap stuff from
Enco) which meant that I needed new leadnuts (also from
Enco) and leadnut holders - I designed these in CamBam and cut them out on the machine (after a few false starts mostly to do with my
understanding of g-code). I guess I should upload those designs to thingyverse really; though I'm not sure how useful they are to others.
The leadscrew upgrade removed a lot of backlash and resulted in faster and smoother performance.
I noticed that the cutting surface wasn't level so next up was to add some MDF planks and level them using the machine to mill the entire surface flat. After spending a couple of hours following the router bit with a vacuum hose and still getting myself and everything in the garage covered in a fine layer of MDF dust (not nice) I decided the next upgrade should be a vacuum system - I went with the one described on the
Solsylva site with one minor modification. I had a lot of trouble getting the ring cut from a 2 liter plastic bottle to fit around the vacuum attachment, so I cut it open and attached it with duct tape... frustrated, moi? That was a bit unstable (and ugly) and I ended up replacing the tape with a #56 band clamp, which has been working fine so far. I intend on cutting out a few more in order to have quick change vacuum feet with different length bristles on each of them.


It's not all been machine related production though. Some of the first things I made were random carvings for the kids. I carved their names into blocks of wood; made spirals, hearts and shapes for them to colour-in and mess around with; I made a few door signs for bathrooms; name plates for kids friends bedrooms; and a few other random objects.
I've also mocked up a small version of Carys' birthday present and cut it out on the machine. I can't wait to be able to post about the completed full sized birthday project, but that's going to have to wait until it's finished. I love the fact that the kids birthday presents are always collaborative efforts with my lovely missus - all the projects are so much better when she's involved. Remember the
colour conundrum? That would just have been an ugly cardboard box with wires sticking out if it weren't for her creative talents and influence!
The current crop of unphotographed and unfinished projects include "kids name marble mazes" and rubber band guns. I've been wondering how hard it would be to make simple versions of star wars ships like the millenium falcon and mill them out. I guess I wouldn't be able to share the files though (or I'd risk getting sued). The one thing I haven't really thought about is actually one of the reasons I thought the CNC machine would be ace - PCB milling. It turns out that getting boards through
DorkbotPDX is much simpler than milling your own (unless you're in a rush) and the results are fantastic - you can see a few of my completed boards
here.


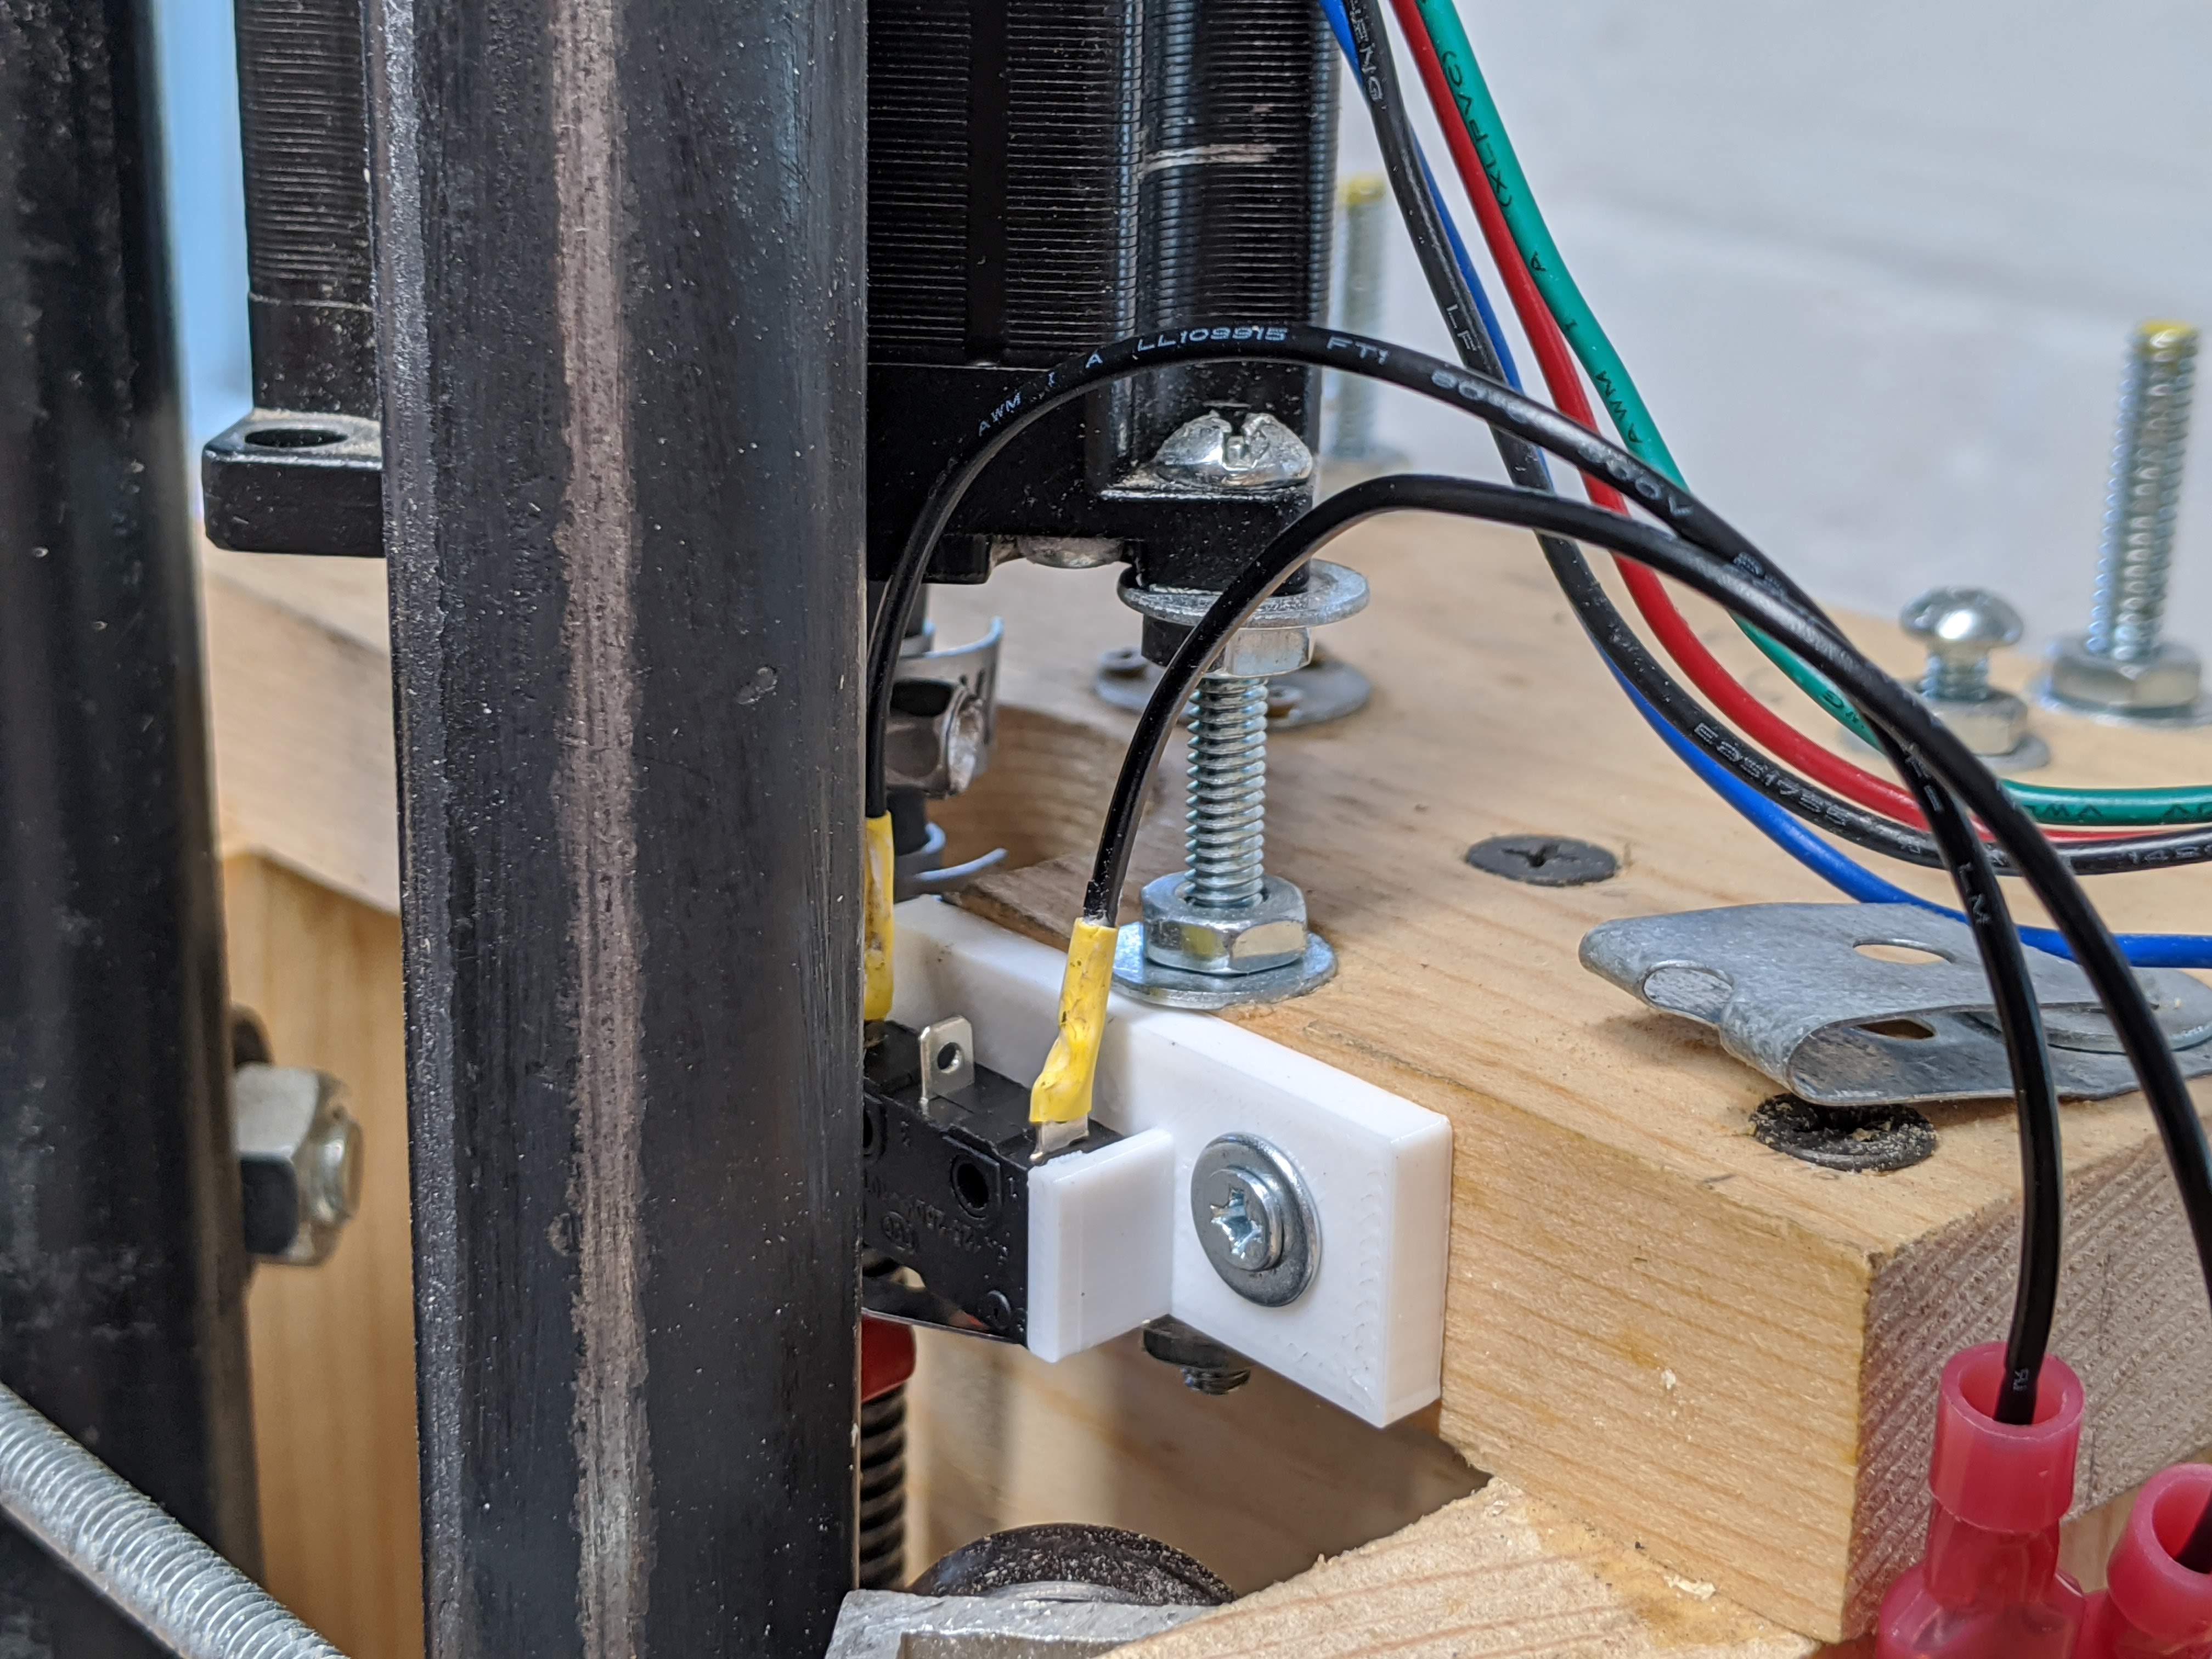
 I did add a few upgrades/changes during the rebuild. Something that was missing from the original setup were limit switches. I found the Xylotex limit switch suggestion on the Solsylva site (this has been down for years, but the content is available on web.archive.org here). I 3d printed the limit switch mounts (3 different designs).